
Audio Production: Fundamentals of Podcasting, Sound Design, and Voice-Over
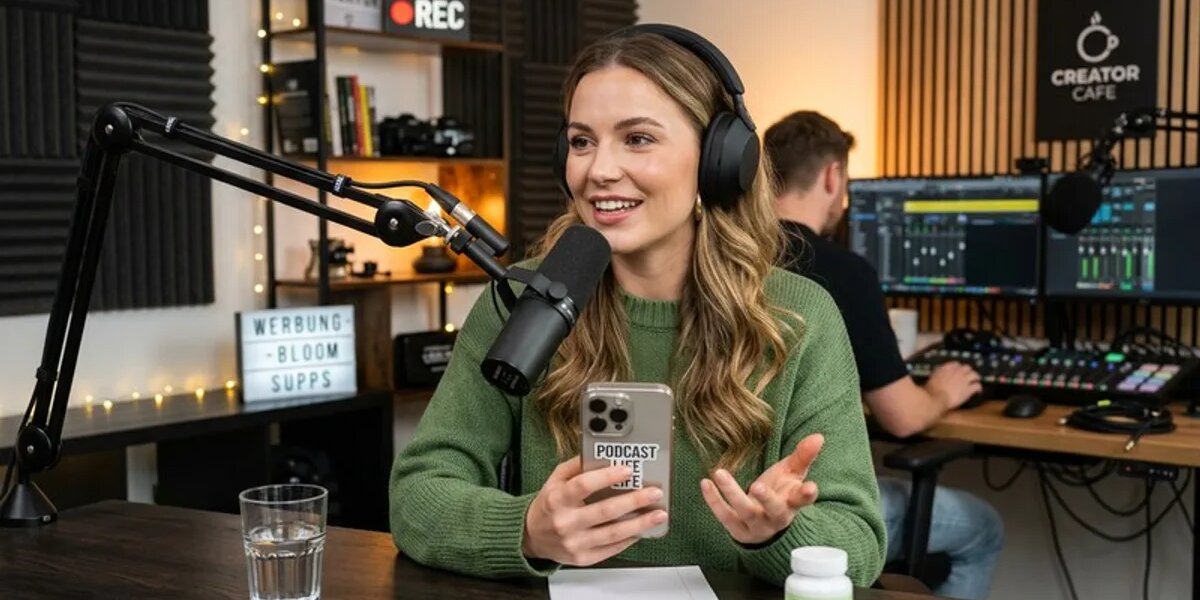
Sound is often underestimated in content production, yet it plays a decisive role in determining whether a podcast, voiceover, or video comes across as professional. Anyone working on formats such as a marketing podcast quickly realizes that recording quality and editing require just as much care as the content itself.
Audio Production Formats
Audio production encompasses a variety of applications that differ in terms of requirements and effort:
- Podcasts with one or more hosts
- Voice-over and Narration Recordings for Videos
- Sound design and background music for moving images
- Commercials and Audio Ads for Streaming Platforms
- Jingles and Acoustic Brand Elements
The Recording Process
When it comes to audio, it’s also worth planning ahead of the recording: A script—or at least a rough outline—helps you stay on topic and reduces the amount of editing needed later. During the actual recording, the choice of microphone, room acoustics, and distance from the microphone determine the basic quality; technical post-production can only compensate for poor recording conditions to a limited extent.
A common mistake is sticking too closely to the script during recording or speaking too quickly out of nervousness. Professional voice-over artists aim for 150–160 words per minute to ensure clear intelligibility.
After the recording, editing, noise reduction, and volume adjustment follow, along with music or sound effects if needed.
- Test room acoustics: Check for echoes before recording
- Avoid level peaking; use headphonemonitoring
- Record multiple takes for editing flexibility
- Warm up: Prepare your voice for 5–10 minutes
Equipment and Room Acoustics
For high-quality audio production, room acoustics are often more important than even the most expensive microphone. Bare rooms with smooth walls create reverberation and echoes that are nearly impossible to completely remove during post-production. Simple measures such as carpets, curtains, or foam panels can already significantly reduce these effects. When choosing a microphone, a general distinction is made between dynamic microphones—which are robust and less sensitive to ambient noise—and condenser microphones, which capture finer details but also pick up more background noise. For mobile recordings, such as on-site interviews, we also recommend using a windscreen and a portable recorder to ensure a usable baseline quality even outside a studio.
- Absorptive materials: At least 30–40% of the wall surface
- Microphone distance: 20–30 cm for optimal voice recordings
- Use XLR cables instead of USB for professional signal quality
- Pop filters prevent plosive sounds and wind noise
Music, Sound Effects, and Licenses
As soon as music or third-party sound effects are incorporated into a production, licensing issues come into play. Not all music that is freely available online can automatically be used for commercial purposes, and platforms like YouTube often automatically detect copyrighted music. For commercial audio productions, it is therefore recommended to use licensed music libraries or custom-composed tracks for which the usage rights are clearly established.
- Check forCreative Commons with a CC-BY license
- Plan forGEMA fees for public broadcasts
- Royalty-free music: One-time payment instead of royalties
- Clarify the license term and territory of use in advance
- Documentation: Archive and maintain records of all licenses
Platform-Specific Mastering
The final step before release—mastering—is often underestimated, even though it has a major impact on the listening experience. Different platforms automatically normalize volume according to their own specifications, which means that a track mixed too quietly or too loudly will either get lost in the mix or stand out unpleasantly compared to other content. Those who produce content regularly should therefore define fixed target values for volume and dynamics and adjust them specifically for each distribution channel—such as a podcast platform versus a social media video—rather than using a single, unmodified mix everywhere.
- Podcast Standard: Aim for -16 LUFS
- YouTube/Social: Use -14 to -13 LUFS
- Dynamic range: Maximum fluctuation of 4–6 dB
- Conduct A/B tests on different devices
- Use a loudness meter plugin for monitoring
Why Good Sound Makes All the Difference
Listeners are much more likely to forgive a slightly shaky video than poor audio quality. Noise, echo, or wildly fluctuating volume levels can quickly make even content-rich formats seem unprofessional. This applies not only to standalone audio formats like podcasts, but also to the audio in videos: The fundamentals of film production show that video and audio should always be considered as a single unit, not as separate projects.
- Target frequency range: 20 Hz to 20 kHz
- Maintain level excursions between -6 and -3 dB
- Improve room acoustics with absorbers
- Test microphone placement at a distance of 15–30 cm
Distribution and Analysis
A finished audio format is just the first step. Podcasts must be published on the relevant platforms, and commercials need the right distribution channels on streaming services. How such audio formats are strategically promoted and distributed increasingly overlaps with topics such as video advertising, as many platforms now play audio and video formats together.
- Optimize platform-specific podcast metadata
- Measuringreach through downloads and listening time
- Cross-promotion of audio and video maximizes audience reach
- RSS feeds for automated distribution on aggregator platforms
- Targeted use of paid promotion on podcast networks

Content: Content Types, Content Marketing, and Quality at a Glance

Click Through Rate (CTR) - Measuring Success in Social Media

B2B Marketing: Definition, Channels, and the Difference from B2C

CPA (Cost per Action): Definition, Formula, and Difference from Cost per Acquisition

Organic Rankings: Ranking Factors, Backlinks, and Content Quality

Webinars: B2B Leads, Live Formats, and the Perfect Structure






Paper Selection for Printing: Types, Basis Weight, Surface Finish

Ad Fatigue: Creative Burnout, Ad Fatigue, and Rotating Creatives
Podcasts as a Form of Influencer Marketing: Host-Read Ads, Partnerships, and Brand Presence in Audio
Creating an online store #3: Marketing, making e-commerce famous?! - Marketing Podcast



 4.9 / 5.0
Leave a Reply
Want to join the discussion?Feel free to contribute!