Photoshop tutorial for realistic shadows around objects – Learn for free!
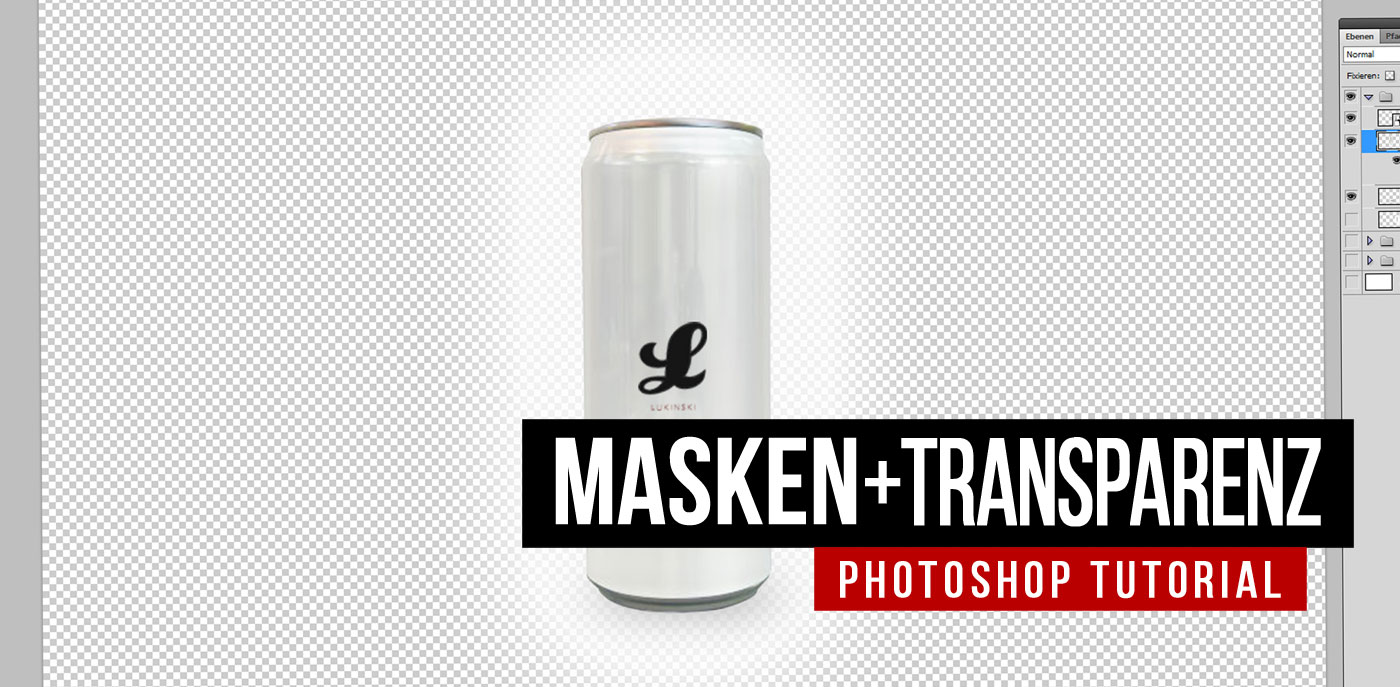
Designing realistic looking shadows is not easy, especially for beginners. Photoshop offers several options for shading objects. First, we always need a single object that has enough space around the edges. In the tutorial: Cropping with masks I will show you how to cropping objects with Photoshop. The tutorial video is coming soon, the complete tutorial with screenshots can be found a bit further down in the article!
Photoshop Tutorial: Realistic shadows around objects
Tip! Social Media Software & Learn Online: The latest tools, the best software and new: Online courses for social media managers. Automation of postings, newsletter marketing and learn new strategies online! Now on my Social Media Agency: Social Media Tool.
Shadow with effect layers and selfmade
In the following, most people initially use effect layers. You can activate these by double-clicking on the desired layer in the Layers window.
Afterwards a popup opens, in which you have different options. One of them is the drop shadow. Here Photoshop creates a shadow around your object. This is enough for many needs. But if you want to go a little further in your design and put realistic shadows on people, for example, you have to do a little more. We will come to that in the next step!
Do it yourself! Realistic shadows with brush + soft focus
Ideally, you should place a new layer under the object and paint the corresponding areas black. Depending on whether the shadow can be seen completely behind the person or only partially, for example on the floor. You can draw very roughly, because we will blur later.
After that you can control > Filter > Blur > Gray blur via the menu and set the strength of the effect.
Now you move your layer under your object and voila, the shadow is ready!
Of course it is worthwhile to position and align the shadow again.


