Bloggers are made with WordPress – 9 Steps for Fashion Blogger & Co.
Blogging is increasingly exciting: for people, for companies, for people in public life – or those who want to become one. I often give workshops for my own fashion and fashion bloggers in the network. A very up-to-date one on the basics is here, slim & elegantly summarized in 9 steps. After that you’ll know how to write blog articles with WordPress. Here is the workshop with the first important steps for WordPress Blogger.
Blogging with WordPress – The basics
First you have to log in. In the content management system WordPress this is usually done using the URL extension /wp-admin.
WordPress Login
Login: www.deinewebsite.com/wp-admin

The Dashboard
On the left is the dashboard (menu), there you will find “All posts” and “New posts”.

Write articles in WordPress
Now it starts, only we write our first WordPress post for the blog.
Enable editor (once)
You have to activate the advanced editor once (for headlines & Co.)

Text editor and headings
In the text editor you work like in Word. You write text and determine headings (drop-down: paragraph).
Important: Never use a headline 1 (h1) – this is your post title (“Here is the headline”)

Insert text > Delete formatting
Should you ever insert texts in the editor, e.g. from Office Word, etc., always “Delete formatting” afterwards, otherwise errors may occur on the website!

Settings and contribution picture
For each blog post, besides the text and your headline, there should be some individual settings. This helps people and search engines to find information in your blog. Posts can be found and assigned faster.
Individual settings for each post
In the sidebar you have to make a few individual settings:
> contribution picture>/strong> – here we use 1 picture>/li>

Upload contribution picture
As soon as you click on the button “Post picture”, the upload field appears.
Alternatively, you can choose an image from your media library (step 7)

Contribution picture from the media library
As soon as you click on the button “Post picture”, the upload field appears.
Alternatively, you can choose an image from your media library (step 7)

[shortcode variables slug=”adsense”]
Preview, save, publish
Basically you work in 3 steps:
>preview>/strong> – allows you to have a look at the current changes in the editor without saving extra

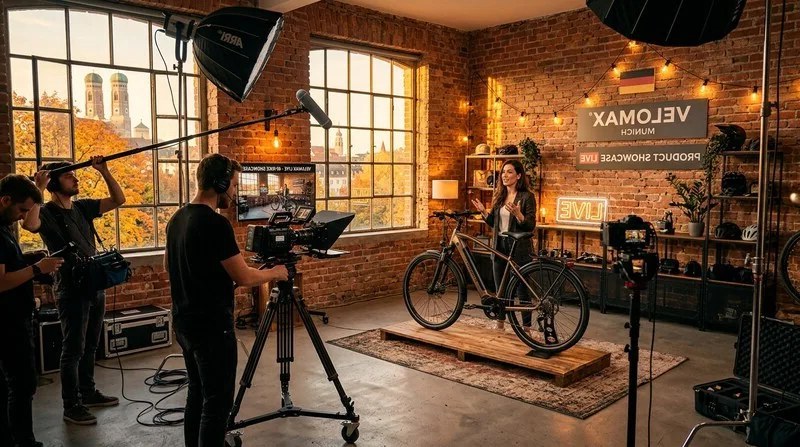
Creator Economy for brands: UGC as a strategic marketing tool

Paywall: What is it? Earn money with views, models, calculation example

Pay-per-view (PPV): Simply explained

Influencer marketing tasks: What we do for your brand as an agency!
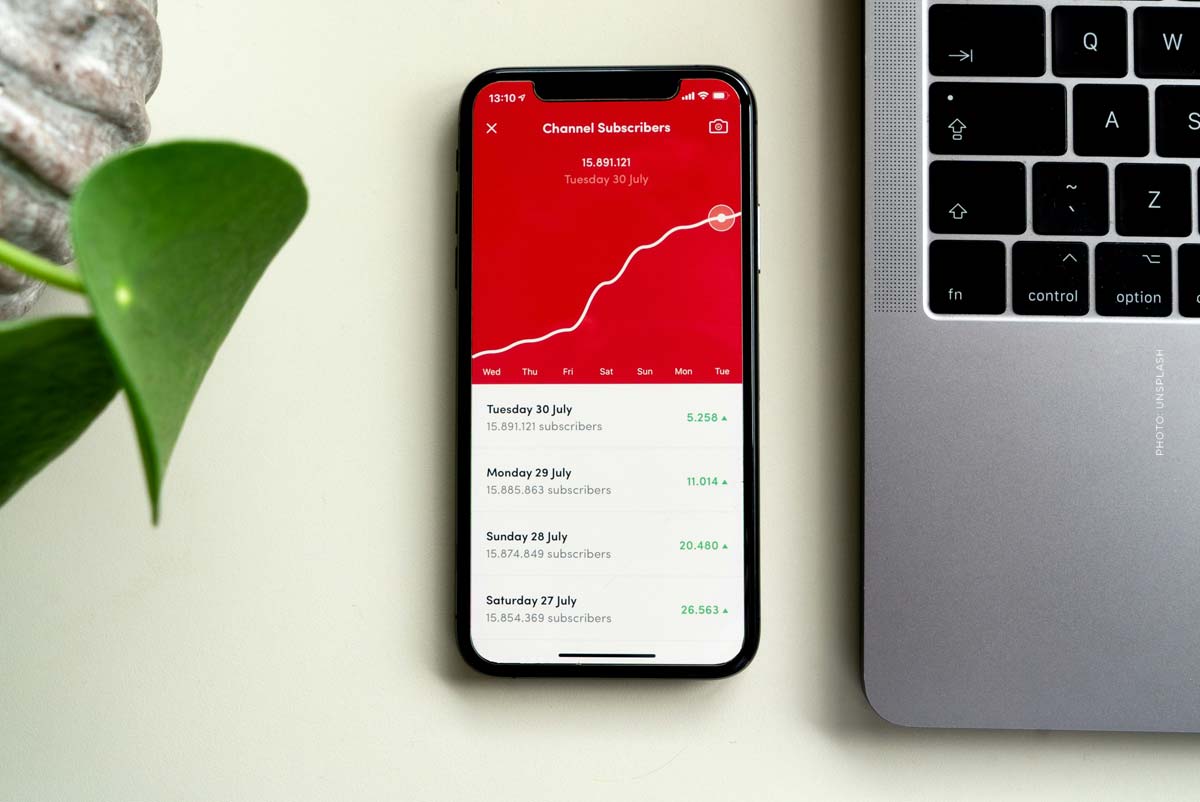
More YouTube followers: Subscriber Link Generator for free
Who earns the most on OnlyFans? Top 10 German OnlyFans Creators


 4.9 / 5.0