
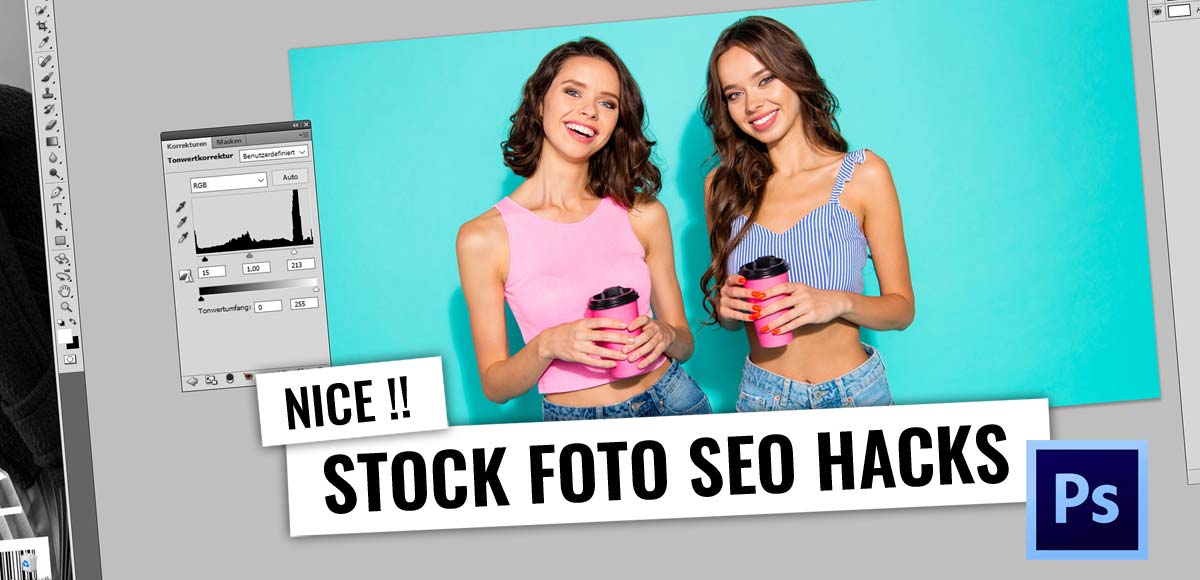
Photoshop batch processing: size, image SEO & compression of photos automatically
Today we take a closer look at the Photoshop batch processing in the video tutorial. Batch processing is always needed if you have a process in Photoshop that needs to be performed frequently. A very classic example, which is also shown in the video tutorial, is trade show photography. Whether at a trade show, at an event, for employee photoshoots or product images, often you have 10, 20 or even 50, 100 or 500 photos available. With all pictures the same process has to be done, usually it is a reduction in size, so the photo can be used for web and mobile devices but also for file compression. In batch processing, the most important thing is to have a process that is exactly the same. So let’s look at our example:
Automatic image editing in Photoshop: Video Tutorial
The principle is relatively simple: We instruct Photoshop to record an action, save it and reproduce it later. At the end of the video there is a special tip for fast image SEO (search engine optimization).
Open action window to create new batch processes
To open the action window, go to the “Window” menu item in the main menu, there you will find “Actions”. The window will then open in Photoshop, just like you already have layers or characters from the default settings on your screen. The action window is built up in the same way as the layers. You have different groups, here called “set”, that “layer symbol” provides a new “action”. So we can create a new sentence, e.g. for a certain customer or a project, in this sentence we then store different automations.
We open a new sentence, call it customer XY and then start a new action, we call it e.g. “Compress > JPG > w1080”.
In the next step, everything must be in place. To save changes, you should think carefully about the process in advance of automation. For simple animations this is still relatively easy but as I described in my article about the production of jewelry product images for online shops through automation, such automation can become very complex and also require the rewriting of certain Photoshop scripts, e.g. to name images according to article numbers in dependencies of databases. But let’s come back to our simple example!
Howto: Now we start with the action
We create our sentence and start our action. With a click on the “layer symbol”, we start. First a small new window appears in which you have to enter the name of the action. I always recommend a title here, which indicates exactly what happens during the action (as above).
“Compress > JPG > w1080” stands for
- Compression
- Save as JPG
- With a width of 1080 pixels
Start action: open photo, resize and save
From now on you should work exactly, we open the first picture in Photoshop. Next, we change the image size, either through the main menu “Image”, “Change Image Size” or through the shortcut Ctrl + Alt + I. The image size is now fixed, e.g. to 1080 pixels in width. Thus our picture is sharp on desktop as well as on tablet and mobile and in addition relatively small.
Next we save the image compressed “For Web and Devices”, here again the reminder for my tutorial for Photoshop image compression. Now we define a folder in which all images from this action are saved each time. Also in the future! For this I have e.g. always an export folder, in which everything comes in again, then I always know where each action goes. All export images of the action and others usually run into one folder. We now go to Save, we set the quality to 40%, and JPG. This way, our images are usually compressed to 5 to 10% of their original size and are therefore much more relevant for search engine optimization than others. For example, if we have an image collection on a homepage, our site will load 10 to 20 times faster than competing sites. A clear market advantage in search engine positioning. Now the image is closed either via “File” and “Close” in the main menu or via the shortcut Ctrl + W. Our image is now not saved. Afterwards we end the action on the “Stop Button” in our action bar.
The batch processing or the action is now saved.
We now delete the one test image from our folder and can start with our automation!
Done! Now we come to the automatic processing of the photos
To start the automation, we go to the main menu and select “File,” “Automate,” “Batch”. There we now select our respective sentence and the action. Our new action should already be selected automatically. In the next step, we select only our source folder, where do the files come from? In our example, the folder where we have all our press photos, trade fair photos or other. If we now press Okay, all the photos will be processed one by one, completely automatically and saved in the folder.
Extreme time saving with Photoshop!
The batch processing and automation in Photoshop masters, saves extremely much time. From my own experience, I can report that it allows you to beat whole teams at project assignments. As in my article on Photoshop automation for jewelry online images, you can create tens of thousands of files that look ultra realistic, whether they are bronze, silver, or gold. But even the basics are enough, like this batch processing in image size and compression, with 100 images it easily saves an entire working day for an employee. All this with a time investment of 10 minutes. Have fun trying, learning and improving!
Extra tips for batch processing: Watermarks and different formats
- Tip! This tutorial also works with watermarks or logos that should be displayed in videos. Just grab a photo, change the image size and insert the logo. The rest of the process is completely the same. When you start the automation, every single photo gets not only the image resizing but also the logo in the place where you intended it to be placed.
- Tip! Make sure to separate portrait and landscape images when placing a logo, for example. Because Photoshop needs the same basics, e.g. if the format of the image changes, as well as in portrait and landscape format, the logos will be placed wrongly, if they are e.g. at the edge. Here you have to make sure that the logo can be used together with both portrait and landscape images.
Image SEO after batch processing
At the end of the video there is a special tip for quick picture SEO! After Google has changed its guidelines and images, after the image search, again provide a direct link to your own website, search engine optimization for images and photos plays a more important role again.

Kickstarter campaign video: What to watch out for?

Content creation: Production & implementation of valuable content - equipment & types

Disable WordPress Block Widget! How to do it in 5 seconds + instructions

WordPress: installation, setup to SEO texts in 5 episodes - Learn for free with videos

Hasselhoff Dollar - Photoshop Tutorial: Tools, Crop, Magic Wand and Masks
Web design test environment: Photoshop tutorial for managers and advertising agencies


 4.9 / 5.0